Jan 10, 2025
Jan 10, 2025
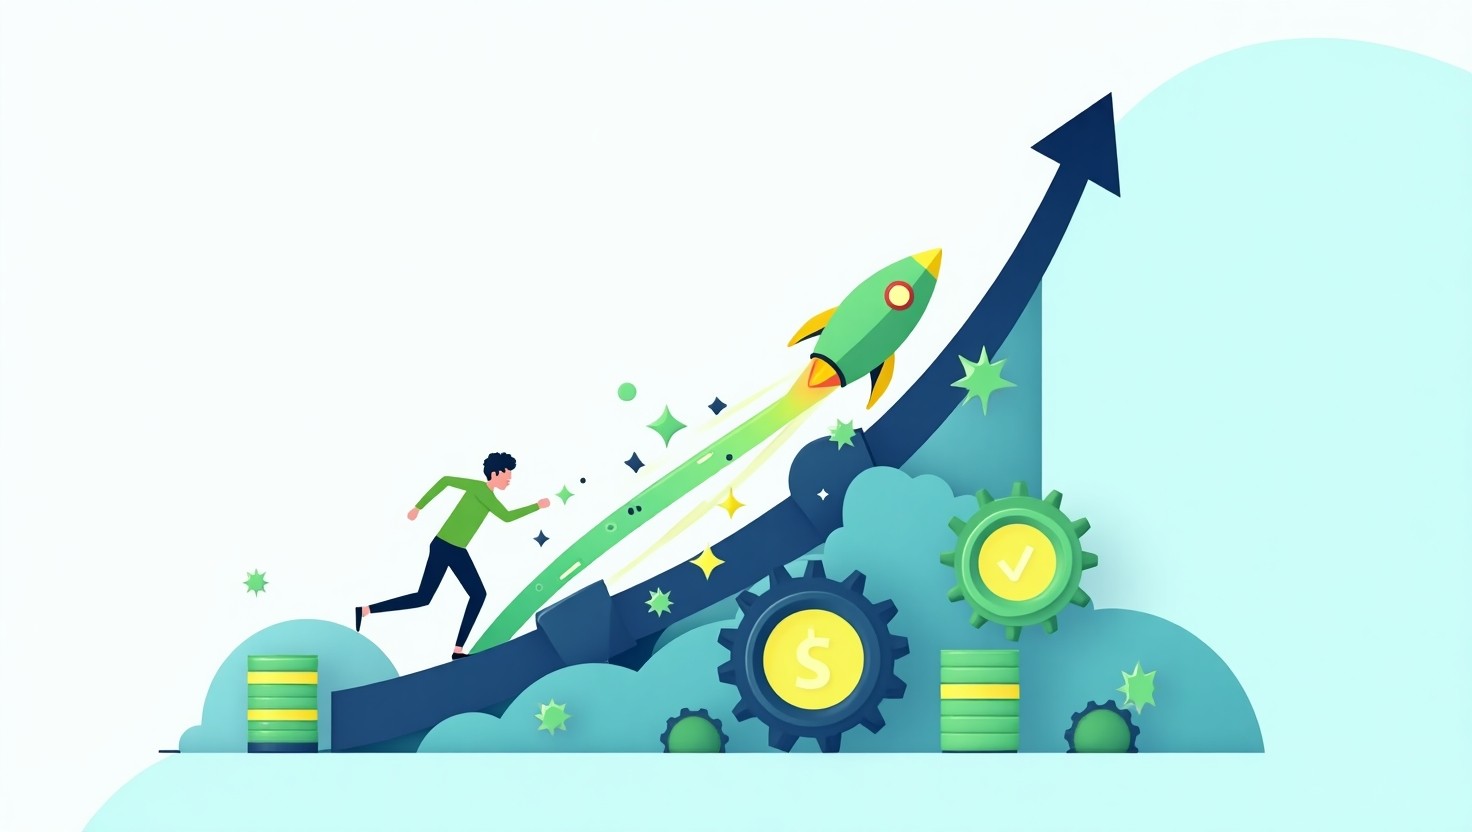
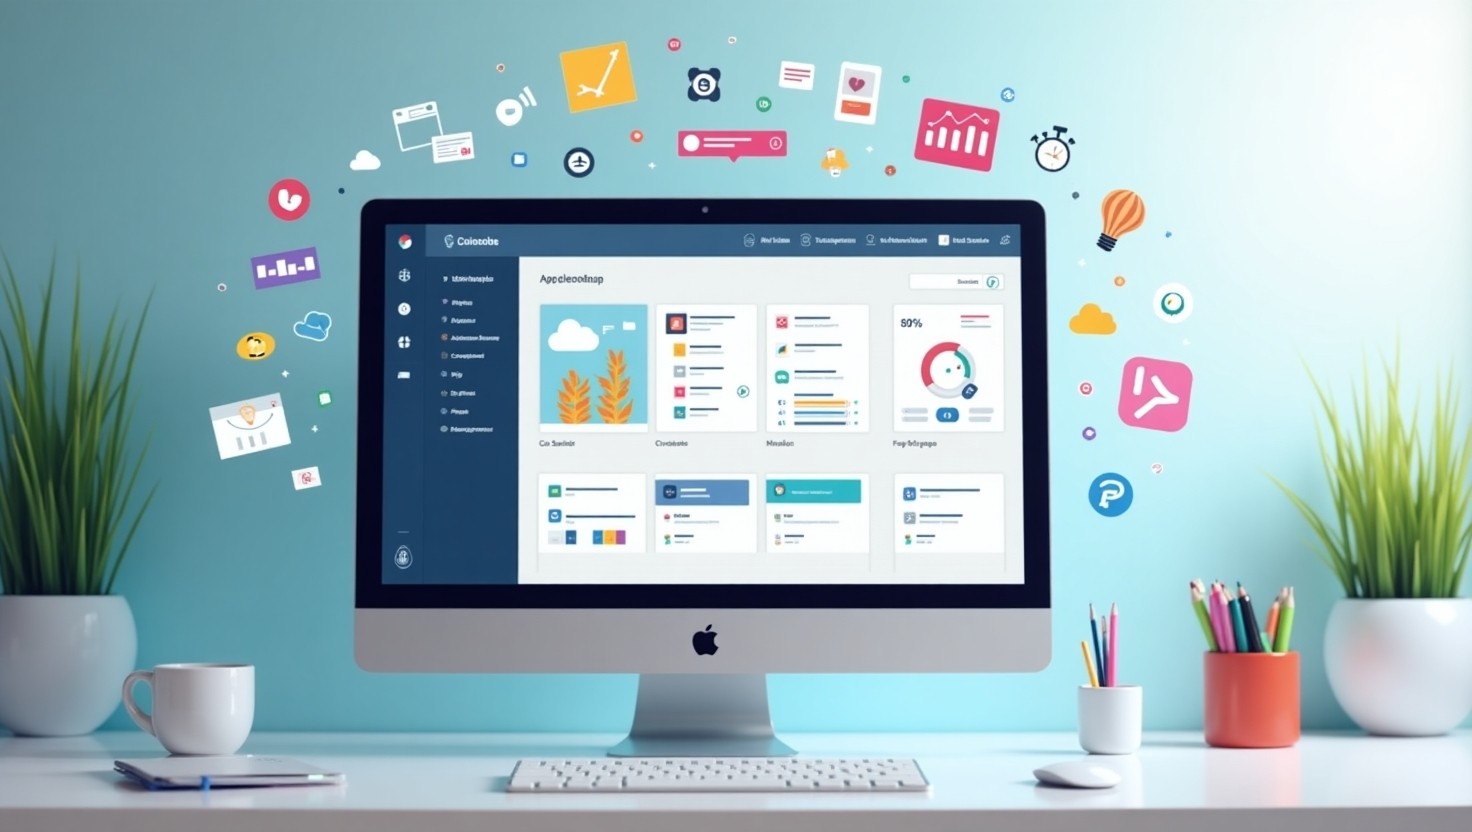
The Process to Turn Your Idea into an App Design
The Process to Turn Your Idea into an App Design
The Process to Turn Your Idea into an App Design


Introduction: Why App Design Matters
Picture this: You're excited about your startup idea. You can see it clearly in your mind - an app that will solve a problem you face daily. But how do you turn that vision into reality? Having worked and seen the process come to life at more than 50+ startups, I'm here to walk you through the exact process used by successful startups and tech companies.
According to Nielsen Norman Group, 88% of users are less likely to return to a website after a bad user experience. That's why getting your app design right from the start is crucial for your startup's success.
Step 1: Defining Your App's Purpose
Before we jump into pretty designs, let's start with the foundation. Think of this like building a house - you need a solid blueprint before picking out curtains.
Key Questions to Answer:
What problem does your app solve?
Who are your target users?
What are the must-have features?
Real-World Example: When we worked with a Jobs Marketplace startup, Taraki, their initial idea was "a jobs marketplace for candidates in Pakistan." By asking these questions, we narrowed it down to "an app that helps Hiring Managers find top-young professionals more easily”. This clarity made all subsequent design decisions much easier.
Step 2: Creating User Flows
User flows are like creating a map for your users. And while the concept seems simple, once you start building it out, you quickly realize how important it is to plan carefully. Just check out this famous example of how Slack decides of whether to send a notification to a user or not.
According to Maze's 2023 Product Benchmarks Report, clear user flows can reduce user errors by up to 70%.
Example User Flow for an E-commerce App:
User opens app → Sees featured products → Clicks product → Views details → Adds to cart → Reviews cart → Enters shipping info → Completes payment
Pro Tip: Keep your flow simple. Research from Baymard Institute shows that 27% of users abandon purchases due to complicated checkout processes. This is especially important during the initial MVP stage - the simpler the user flow the more likely you are to not be stuck in endless engineering struggles.
Step 3: Wireframing Your App
Think of wireframes as the blueprint of your house before adding paint and furniture. This is where you can start envisioning what your app should look like; e.g. where will the Navigation bar be placed, how will the products or listing be displayed (feed-like view or a tiles), and so much more.
According to Invision's Design Industry Report, projects that start with wireframing are 30% less likely to require major changes later.
Essential Wireframing Elements:
Navigation structure
Content layout
Button placement
Screen hierarchy
Real-World Example: When building a food delivery app, our wireframes revealed that users needed to see delivery time estimates earlier in the process. This simple insight at the planning stage reduced our engineering efforts and costs.
Popular Wireframing Tools:
Step 4: Visual Design Elements
And only now comes the fun part - making your app look amazing! But remember, as Google's Material Design principles teach us, beauty must serve a purpose. Don’t just go for the cool and crazy animations that make your app the next shiny new thing but really craft the look and feel of your app to make it easy for users.
Key Design Elements to Consider:
Color Scheme
Brand colors (2-3 main colors)
Accent colors for CTAs
Accessibility-friendly contrast
Typography
Readable fonts for main content
Eye-catching headings
Consistent sizing hierarchy
Visual Components
Icons and buttons
Images and illustrations
Loading states and animations
Pro Tip: According to Microsoft's Inclusive Design, using high contrast ratios and clear typography can make your app accessible to 25% more users.
When building out the wireframes the common misconception is that only the primary screens will be visualized but not the error states. For example: Often, non-technical founders will start by designing themselves or approving the wireframe for when a user is signing up to their app but will miss designing or approving the wireframes for when a user enters the wrong password. It's important to design these error states as it will save time and cost at the engineering stage.
Step 5: Interactive Prototyping
This is where your app comes alive! Prototyping lets you test your ideas before spending any money on expensive engineering work. Prototyping is the clickable version of your wireframes which can make it seem like you are using an app without actually having built one.
Building and spending time refining the prototype can seem time-consuming but doing it by giving it its due-importance will help you save thousands of dollars at the engineering stage. UXPin's research shows that interactive prototypes can reduce development costs by up to 40%.
Prototyping Best Practices:
Start Simple
Test core features first
Use placeholder content initially
Focus on user flows
Add Interactions
Button responses
Screen transitions
Form behaviors
Success Story: One of our clients saved thousands of dollars in development costs by discovering usability issues during prototyping. Their user testing revealed that their original booking flow was too complicated and hard to navigate for first-time users.
Step 6: Iteration and Improvement
Once you’ve completed the steps above now you’re good to move the process forwards towards Development.
However, the iteration and improvement process never ends. Once you’ve started the Development process on a base you are happy with - we do believe it important to continue iterating and improving for future enhancements.
Remember: Facebook wasn't built in a day! According to Startup Genome, successful startups pivot their product design at least once before finding product-market fit.
Effective Iteration Process:
Gather Feedback
User testing sessions
Analytics data
Customer interviews
Prioritize Changes
Impact vs. effort matrix
User pain points
Business goals
Implement and Test
A/B testing
Beta user groups
Performance metrics
You can start to have your product be ready for use and / or continue to iterate on the design process by starting to gather feedback from potential users.
Case Study: We helped a project management startup iterate their onboarding process five times before launching. However, the unique advantage we had was access to their employee base that was going to be the first set of users for the product. Every iteration made the product more powerful and solved for real-world edge cases before incurring any development spend.
Next Steps for Founders
You now have a roadmap for transforming your idea into a well-designed app. You can start off simply by using a Google Doc for planning and leveraging AI-tools like ChatGPT and Claude to help guide you through the User-flow stage. Once you’ve got the clarity of how your idea can become an app, its time to get your hands dirty and go through the process detailed above.
Additional Tools and Resources:
Design Sprint Kit by Google
UI/UX Best Practices from Smashing Magazine
Mobile App Design Course on Coursera
Remember: Great app design is an investment in your startup's success. According to CBInsights, poor user experience is among the top 20 reasons why startups fail. Don't let your great idea be held back by poor design!
Bricks on Clutch
Copyright 2023. All Rights Reserved.
Learn More With Us
Learn More With Us
Learn More With Us
Mar 25, 2025
Mar 25, 2025
Mar 25, 2025
Why Startups Fail: It's Not the Idea, It's the Execution
Why Startups Fail: It's Not the Idea, It's the Execution
Why Startups Fail: It's Not the Idea, It's the Execution
Most startups fail because of poor execution. Learn how to validate your idea, build smartly using low-code and lean startup principles.
Most startups fail because of poor execution. Learn how to validate your idea, build smartly using low-code and lean startup principles.
Most startups fail because of poor execution. Learn how to validate your idea, build smartly using low-code and lean startup principles.
Feb 26, 2025
Feb 26, 2025
Feb 26, 2025
Why Startup Founders Should Choose Low/No-Code Development
Why Startup Founders Should Choose Low/No-Code Development
Why Startup Founders Should Choose Low/No-Code Development
Low/no-code development helps startup founders launch faster and efficiently. Learn why it's the best choice for building MVPs.
Low/no-code development helps startup founders launch faster and efficiently. Learn why it's the best choice for building MVPs.
Low/no-code development helps startup founders launch faster and efficiently. Learn why it's the best choice for building MVPs.
Jan 10, 2025
Jan 10, 2025
Jan 10, 2025
The Process to Turn Your Idea into an App Design
The Process to Turn Your Idea into an App Design
The Process to Turn Your Idea into an App Design
We’re sharing the simple step-by-step app design process used by successful startup founders.
We’re sharing the simple step-by-step app design process used by successful startup founders.
We’re sharing the simple step-by-step app design process used by successful startup founders.
Bricks on Clutch
Bricks on Clutch